Vague process, vague goals
Goals:
A) Make people go “Holy shit, wtf is that?”
B) Then make them go “I could do that”… but like, slightly better.
So this is fundamentally a piece of hardware, that is generated out of software, because…
… there are quite tight dependencies between the spacings of the bearings and the thicknesses of the material used. It’s quite difficult to predict what the thickness of flat sheets of material actually are (acrylic for example is quite often noticeably thicker at one end than the other), so in the long-run it is seriously going to save time if all the parts are generated parametrically from user-inputs.
The gaps between the concentric circles are (for example) currently 4mm, with the assumption that I’ll be able to use 3mm axles. If I need to change this to work with inch-unit parts, redrawing the whole thing by hand would take days, and introduce a hell of a lot of possible cock-ups. Once the thing is parametrically generated (which takes time), this all takes about 30 seconds.
.
I know my way around Grasshopper (a Rhino plugin), I used Grasshopper.
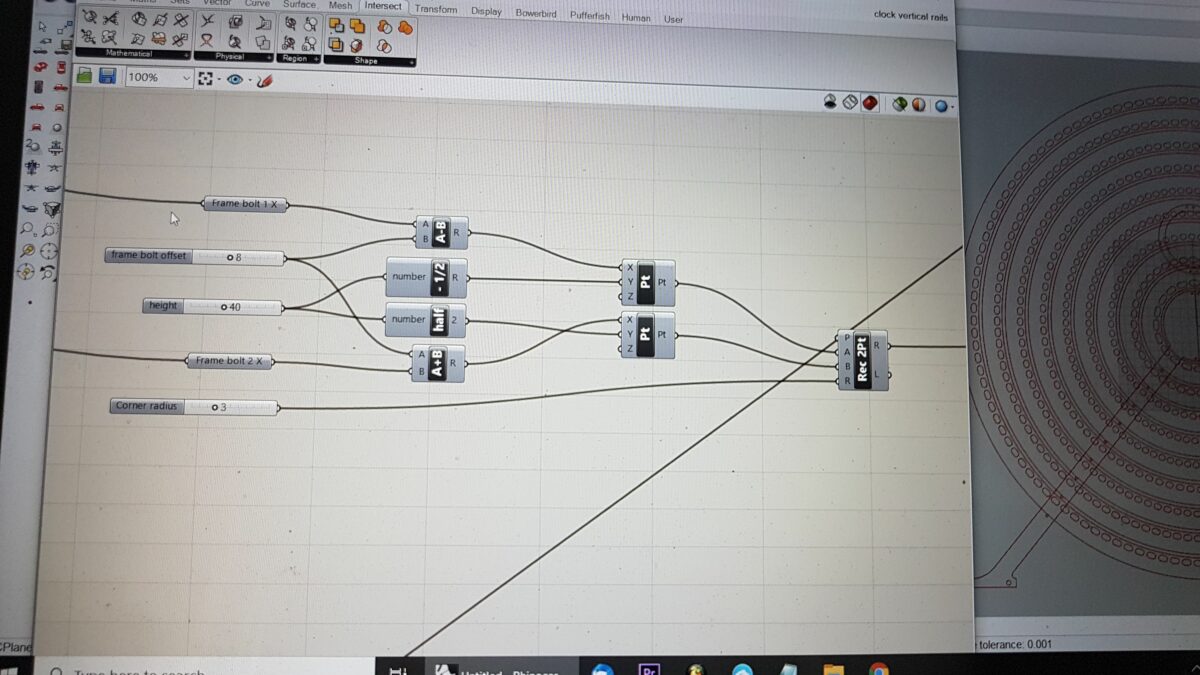
It’s great because it has a ton of functionality, but not so great because every single variable-call involves another wire, and these can become seriously ungovernable.
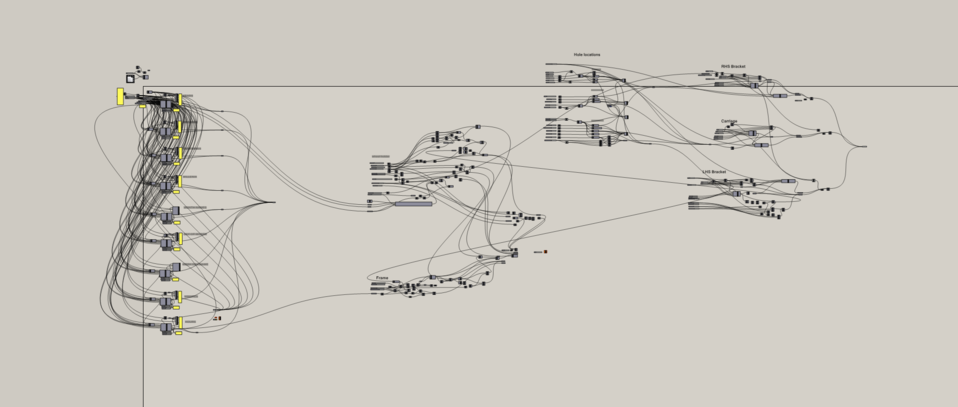
This is a screengrab from about 2 weeks ago… various bits have been added, various bits removed. To export a full-sized graphic involved a 20Gb file, which crashed my machine. Close up though, it looks like this.
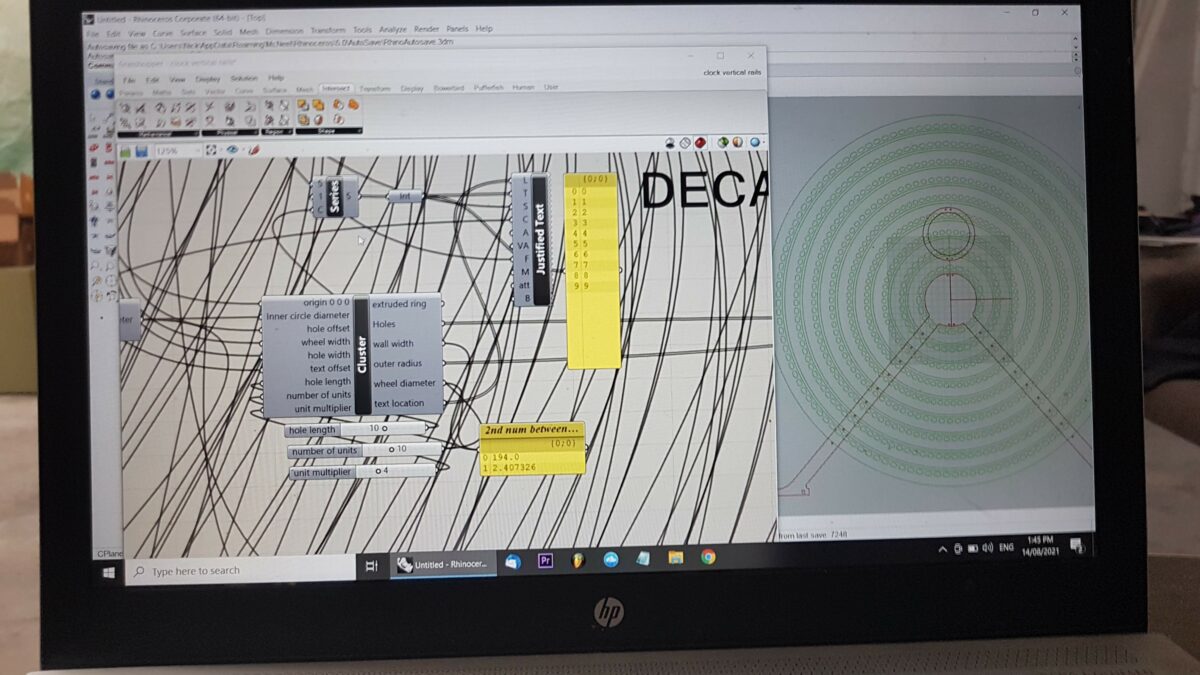
Those being photographs rather than screen-grabs on account of my having to use an old Windows computer to run Rhino, which is (if I’m to be honest) a massive pain in the arse. I normally use linux. My 80 year old parents use linux. It’s just better – Windows is a paranoid birds-nest of “IP” constraints and “monetisation”. Linux doesn’t run Rhino tho.
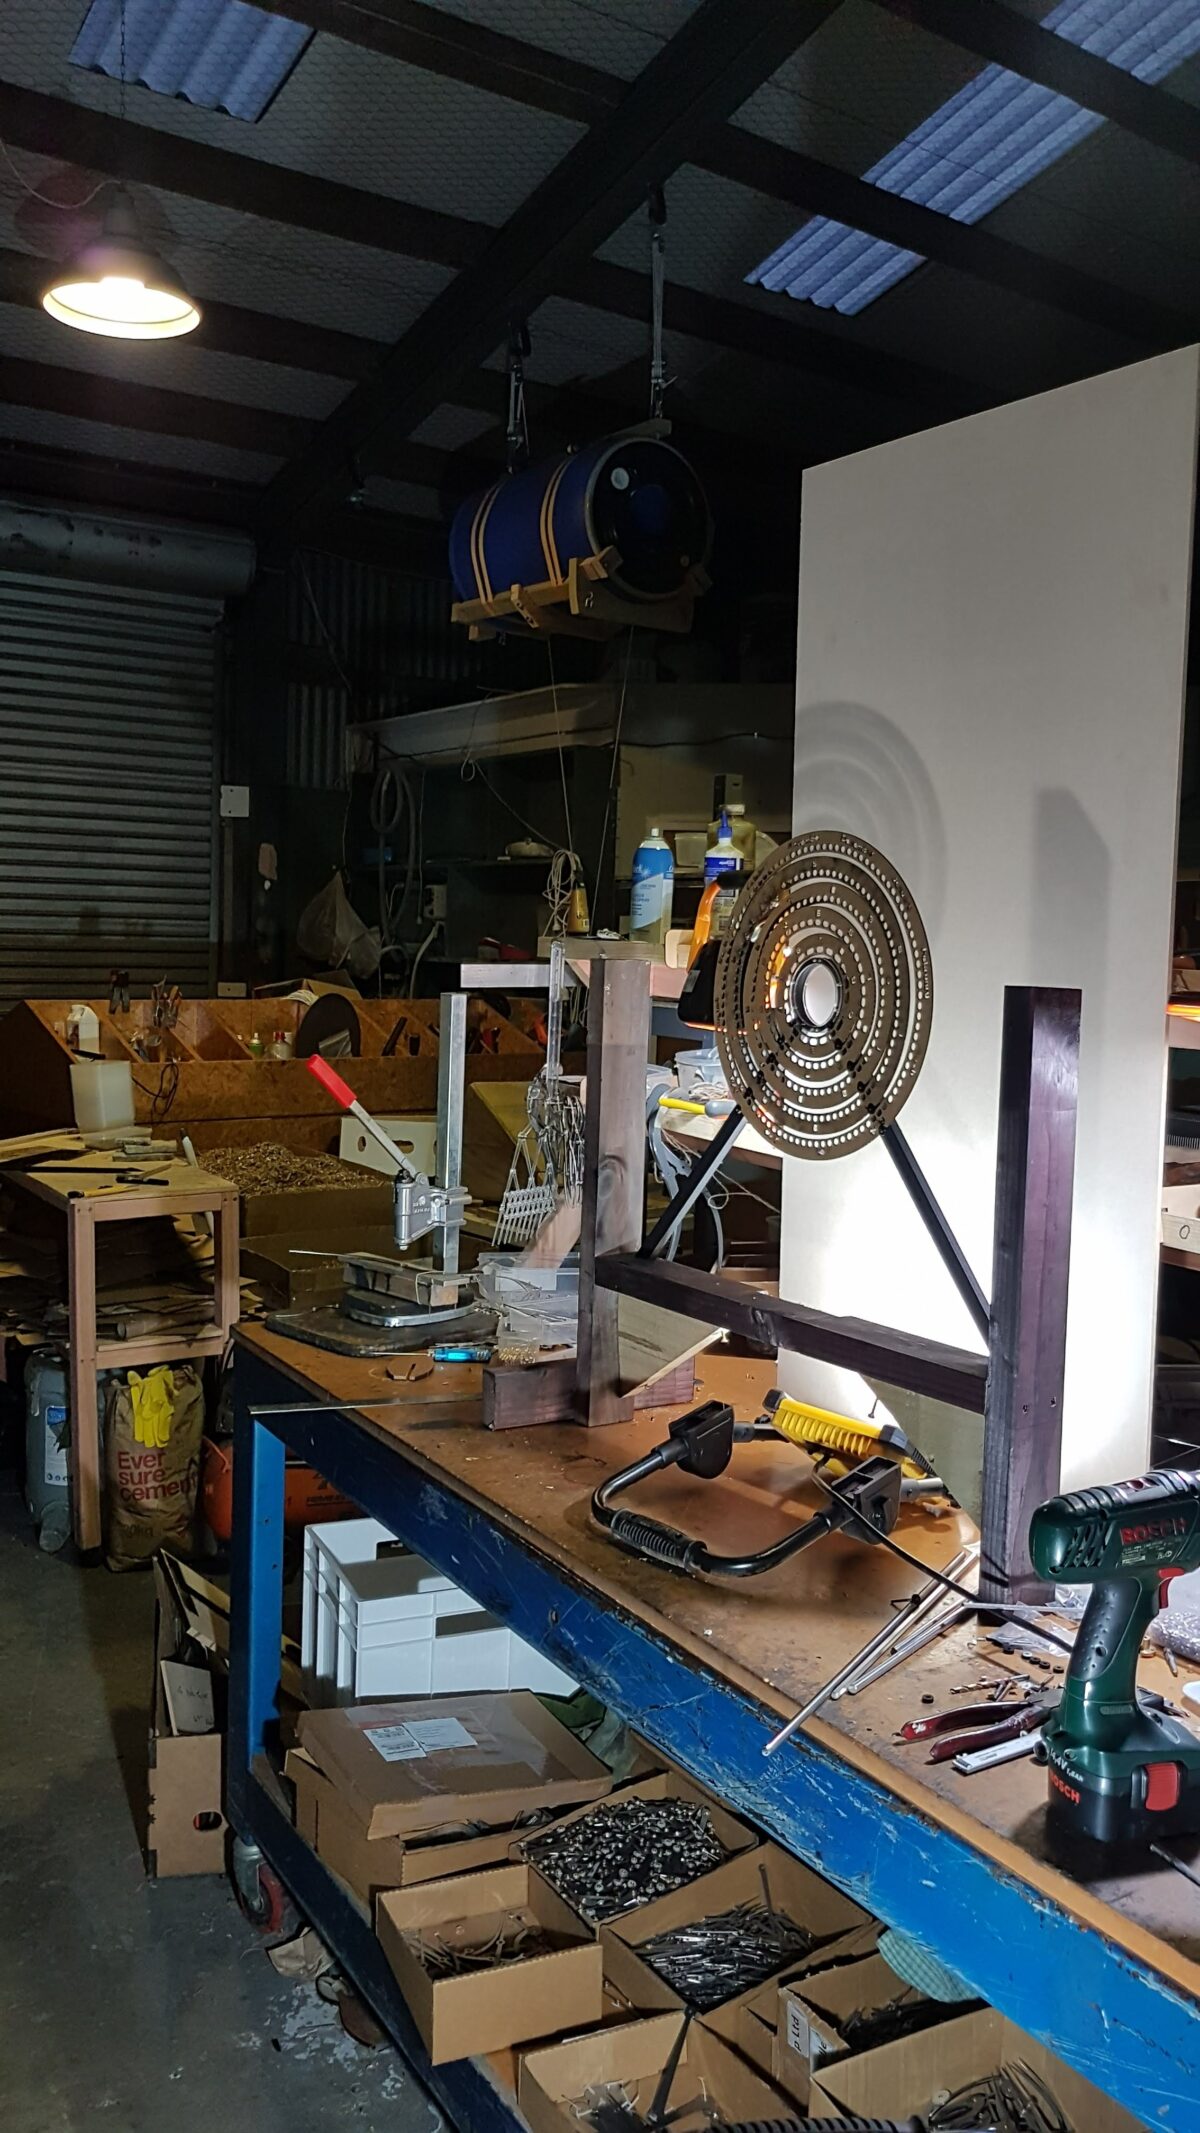
Anyhoo… that circular thing on the right is a dxf for the wheels (I’d go insane trying to draw that by hand), and it can output pretty much directly to the laser-cutter.
Cardboard hole-size tryout:
After that, I did a couple of wheels in 4mm acrylic. I think the first version is going to be 1cm thick acrylic… which is about the limit of what this poor little machine can do. The clock is designed to be able to use any CNC machineable material though.
Actually now that I look a bit more closely, that looks like 1cm thick acrylic. I’ve jumped ahead a step or 3. Oy vey.
Anyhoo… the biggest wheel is just under 600m diameter, and this is a 600 x 400 laser cutter, so I’m only doing the smaller wheels. Basically as a proof-of-visual design, dress-rehearsal. For the bigger wheels I’ll need to borrow a friend’s (slightly larger) cutter. 1cm acrylic is pretty expensive as well, so… little steps…. little steps.
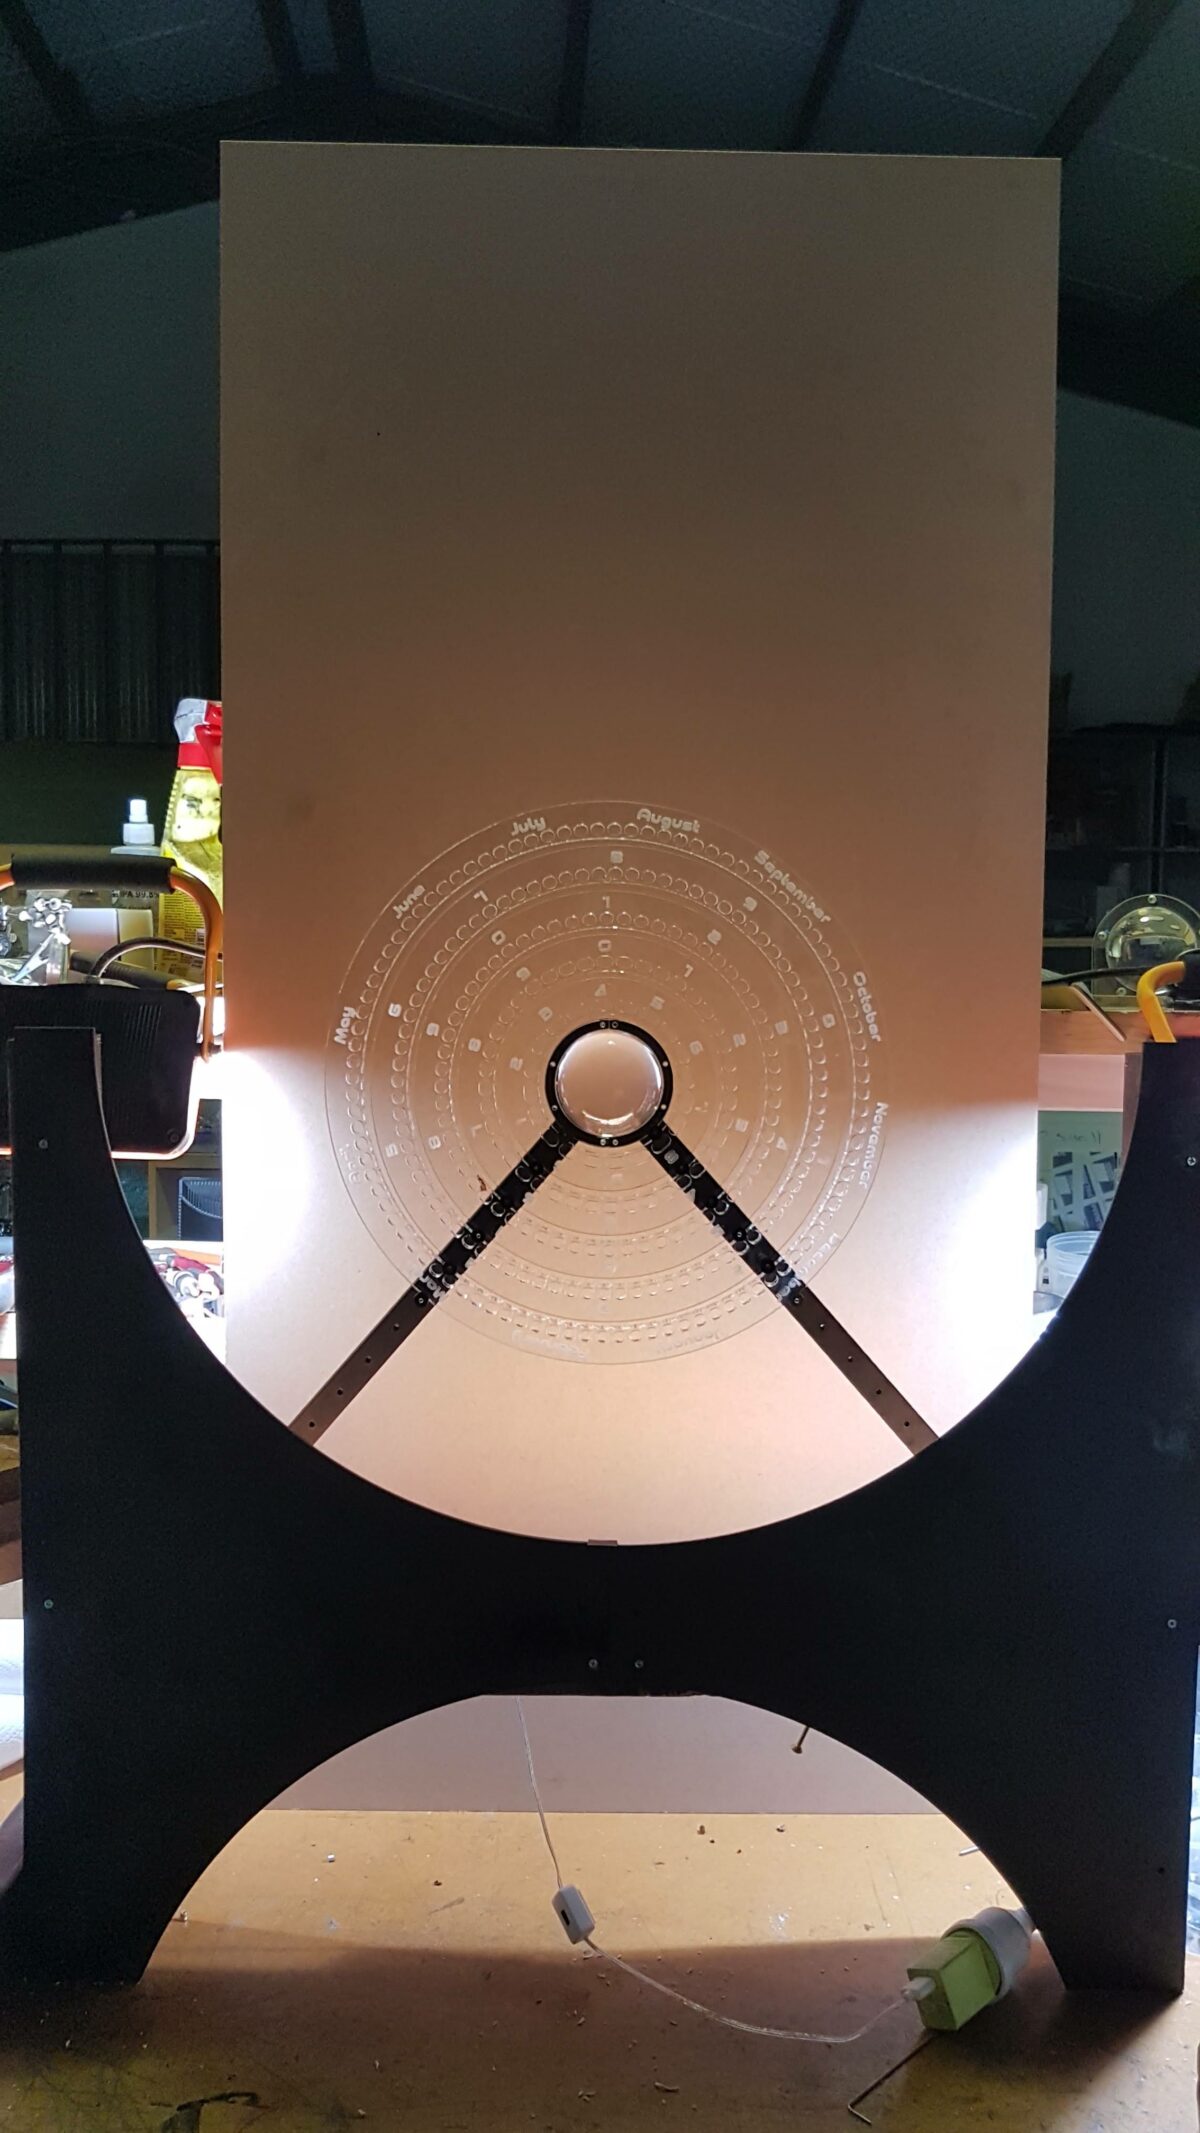
The reason most of these photos are being taken at night, is because it’s the middle of winter in NZ now, and it’s getting dark quite early. Also everything looks a whole lot more dramatic.
It’s Sunday today, and I’m up visiting the folks… typing this in the car next to the river.

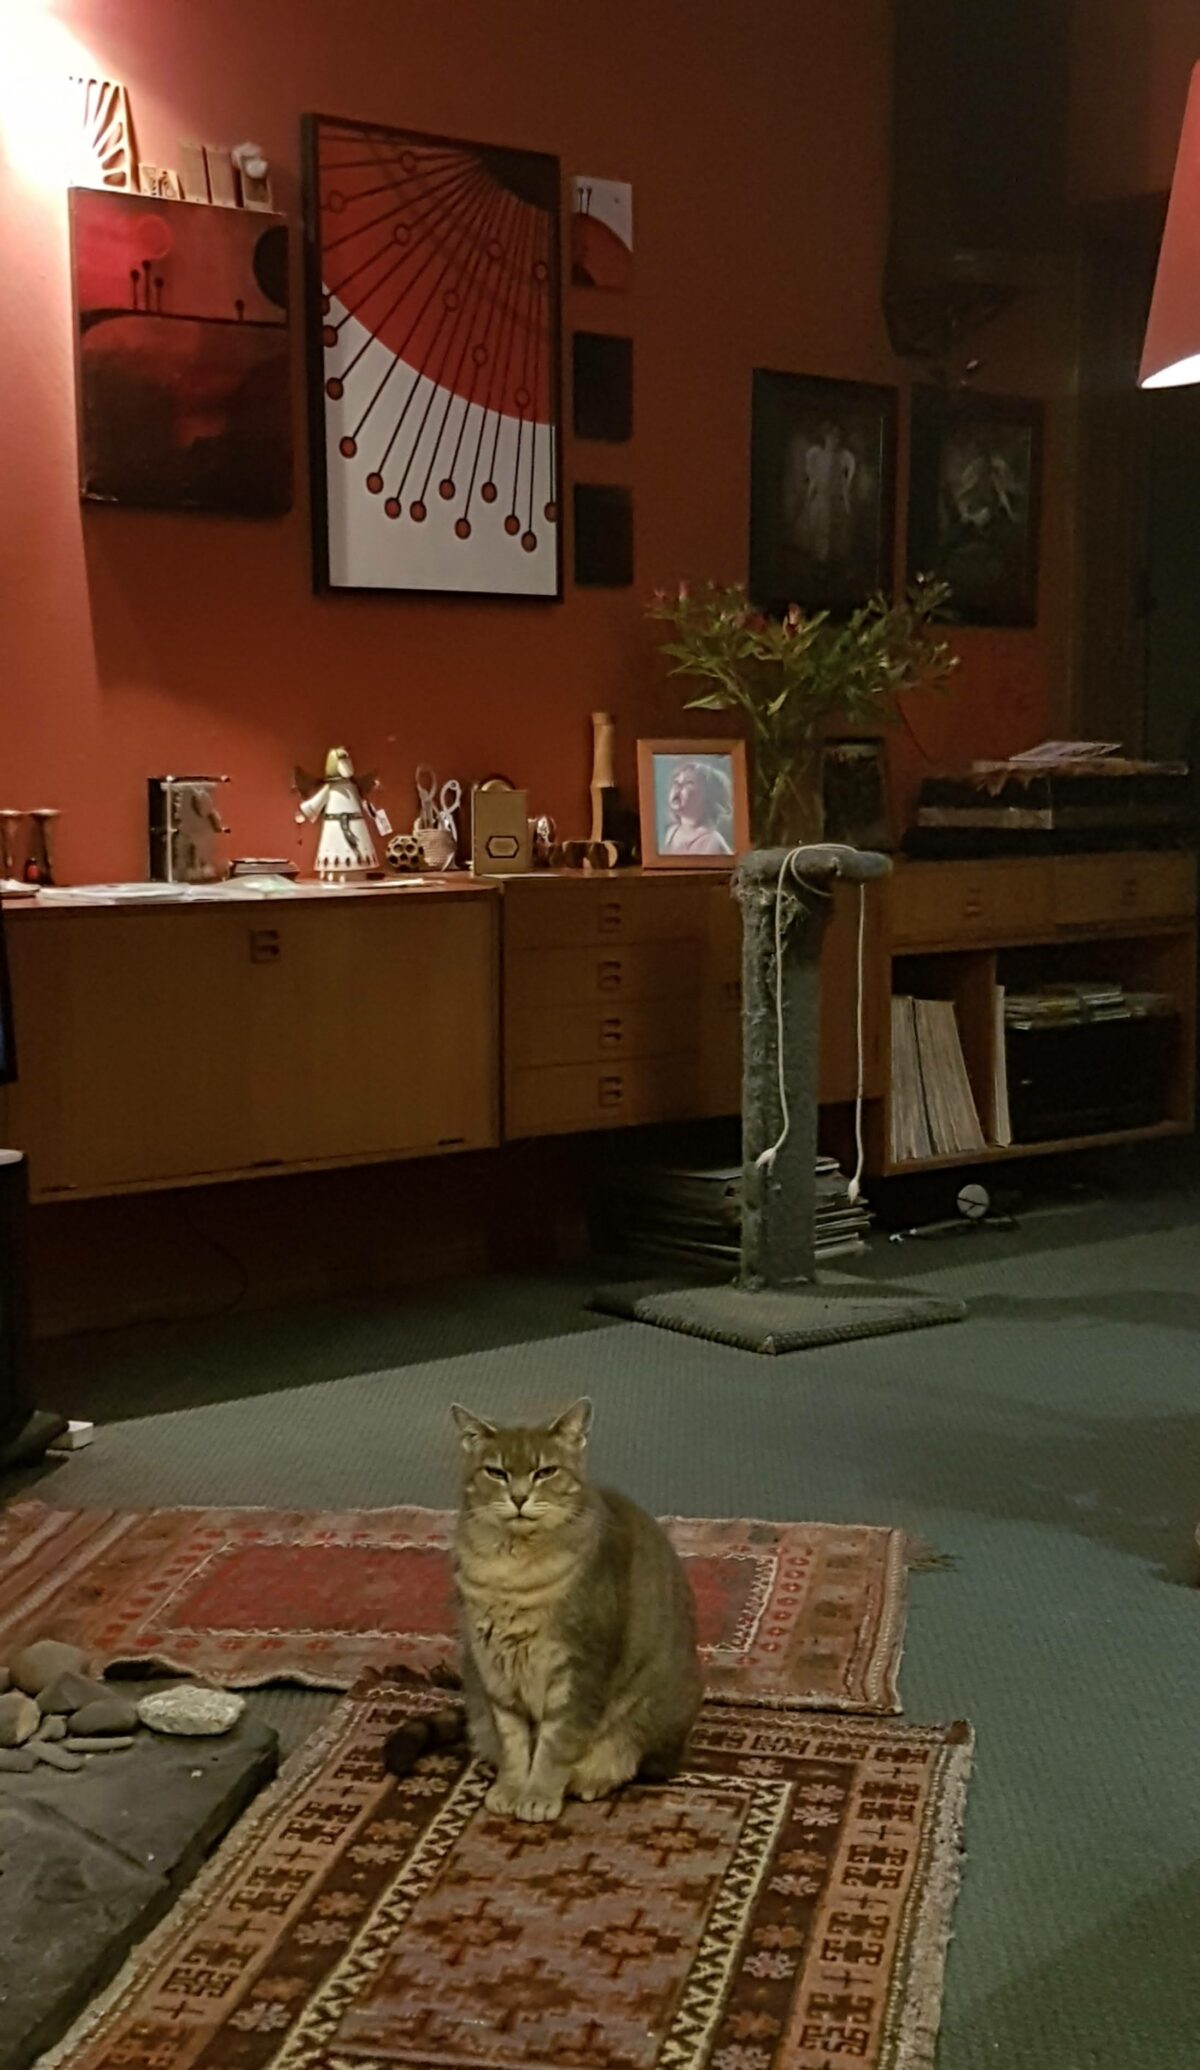
Catsby.
The folks live in a proper house.